 Overview
 Overview
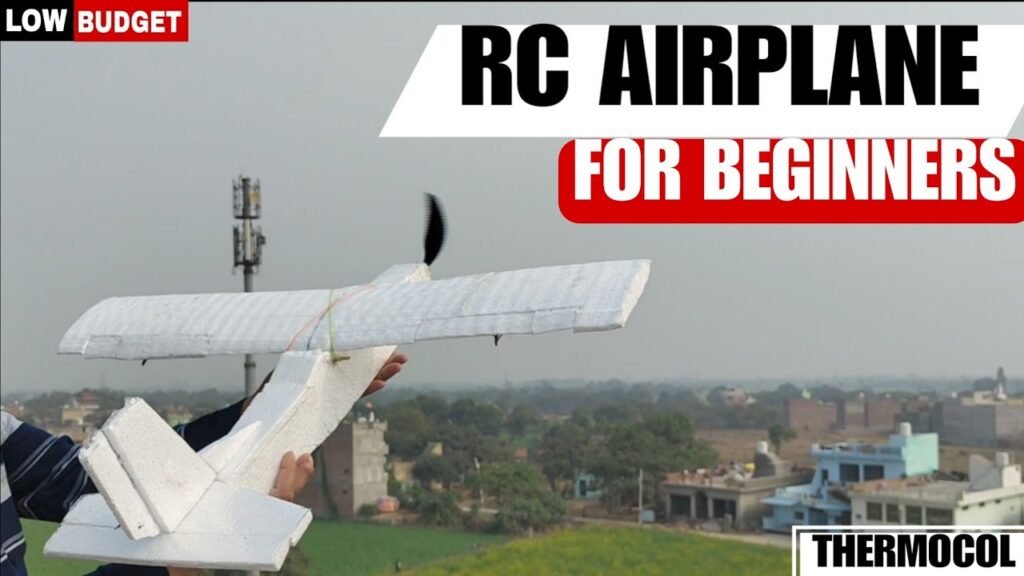
In this video tutorial, I show you how to build an RC airplane from scratch using low-density thermocol, reinforced with packaging tape. This simple and efficient design is perfect for first-timers looking to get into the RC flying hobby without complex tools or expensive materials.
Tools & Materials
 Tools & Materials
 Electronics Used
 Electronics Used
1000KV 2212 Brushless DC Motor
10x4.5 ABS Propeller
SimonK 30A Electronic Speed Controller (ESC)
SG90 9g Micro Servo Motor (x2 or more)
Jumper Wires
2200mAh 3S Li-Po Battery
Flysky FS-i6S Transmitter & Receiver
 Cheaper Alternative Transmitters:
Flysky CT6B
Flysky FS-i6
Foam Materials
 Foam Materials
0.5 Inch Thermocol (Body & Vertical Tail)
1 or 2 Inch Thermocol (Wings)
Umbrella Rods (Reinforcement)
Packaging Tape (Structural Strength)
Tools Needed
 Tools Needed
Hot Wire Thermocol Cutter (DIY: Watch how to make it)
Glue Gun
6 Inch Hacksaw Blade
Paper Cutter
12 Inch Ruler
 Download Full Plane Plans & Diagrams:
 Google Drive – RC Plane Diagrams
Build Steps
 Build Steps
Step 1: Cutting the Airframe
Use your ruler and thermocol cutter to carefully carve out the fuselage (plane body), wings, rudder, and elevators from the thermocol sheets using your downloaded plans.
Step 2: Reinforcing with Tape
Cover each cut thermocol part with packaging tape to improve structural strength and reduce vibration during flight.
Step 3: Wing Assembly
Attach the wings to the fuselage using glue. Strengthen with umbrella rods placed along the wings for additional durability.
Step 4: Mounting the Electronics
Fix the 2212 BLDC motor to the nose using a custom or pre-bought motor mount.
Connect the ESC and battery in the fuselage.
Secure the servo motors for rudder and elevator controls.
Step 5: Wiring
Connect the ESC and servos to the Flysky receiver according to your channel configuration. Ensure the receiver is correctly bound to the transmitter.
Step 6: Propeller & Balance
Mount the 10x4.5 propeller to the motor shaft. Check your center of gravity (CG) by balancing the plane 1/3rd into the wing from the leading edge.
Step 7: Final Check & Calibration
Power on the transmitter first, then the plane.
Test all control surfaces and throttle.
Make sure there is no binding or reversed controls.
Watch the Full Tutorial
 Watch the Full Tutorial
 RC Airplane Tutorial Video: Watch on YouTube
Follow & Contact
 Follow & Contact
Instagram: @drab_tech
Email for Business Enquiries: drabtech@gmail.com
© All Rights Reserved by Drab Tech. Unauthorized re-uploading of this video or tutorial content will result in copyright action.