 DIY Dog GPS Tracker Using Arduino Nano & NEO-6M Module
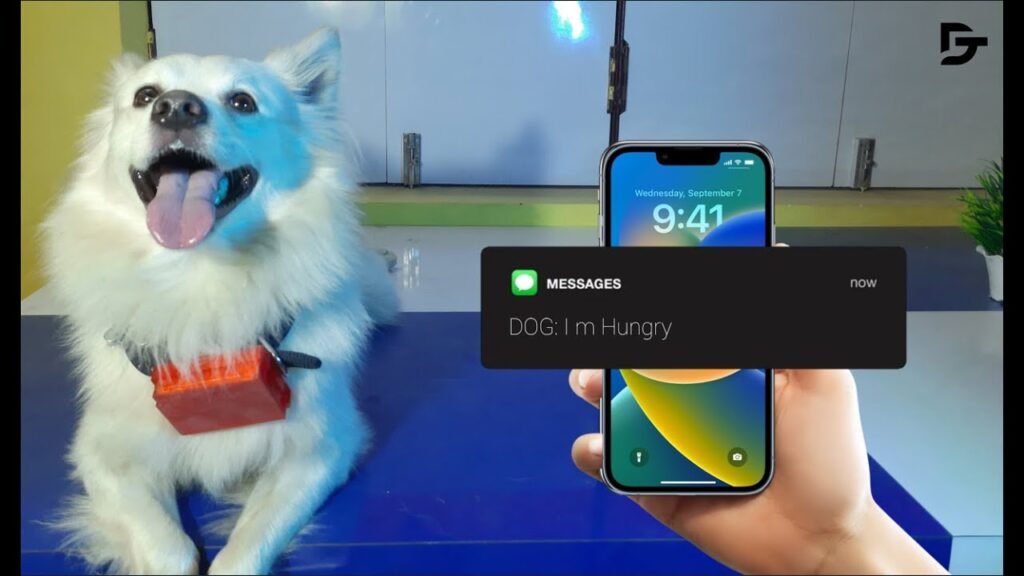
Ever wanted to keep track of your dog when they're off-leash or in the backyard? This project shows you how to build your own GPS-based tracking system using an Arduino Nano and a GSM module. Perfect for beginners and pet lovers, this project brings GPS technology into a fun and practical use-case.
Note: The Arduino case shown in the video is for display only—it was too small to fit everything. You can use any custom or DIY enclosure that works for your components.
 Components You'll Need
An Arduino Nano — this will be the brain of your tracker.
A NEO-6M GPS Module — to get your dog’s location in real time.
A GSM Module — to send GPS coordinates via SMS.
A Rechargeable Battery Pack — for portability.
Jumper wires, small zip ties, and any weatherproof enclosure.
 Steps to Build:
Step 1: Wire the GPS Module to Arduino
Connect the TX/RX pins of the GPS to the Nano's digital pins (use SoftwareSerial library). Power it with 5V and GND.
Step 2: Connect the GSM Module
Attach the TX/RX pins of the GSM module to a separate set of pins on the Nano. Insert a SIM card (2G supported) with SMS credits.
Step 3: Upload the Code to Arduino
Get the complete code and circuit diagram below
Use Arduino IDE and the SoftwareSerial and TinyGPS libraries to make it work.
Step 4: Power It Up
Use a Li-ion battery or a regulated 9V supply. Make sure it can run the GPS and GSM modules at the same time.
Step 5: Test the Setup
Once powered, the GPS module will start getting a signal. The GSM module will send an SMS with coordinates when the code is triggered.
Step 6: Place It in a Case
Use a custom 3D-printed case or a waterproof plastic enclosure. You can also attach the setup to a dog collar using Velcro or zip ties.
You’ll receive a Google Maps link via SMS. Click it and you’ll see your dog’s exact location.
 Important Tip:
The GSM module used supports only 2G networks. If 2G isn’t available in your area, consider upgrading to a 4G-enabled GSM module like SIM7600 or A9G.
 Want More Tutorials Like This?
Check out more content just like this one by tapping here: Explore more amazing DIY tech projects
 Follow Me for Updates
Find daily updates and sneak peeks on my Instagram: Follow @drab_tech on Instagram
 Business Inquiries & Collabs
drabtech@gmail.com
—
© All Rights Reserved by Drab Tech. Unauthorized re-uploads will result in a copyright strike.
Got any doubts or suggestions? Drop them in the comments or send me a DM on Instagram