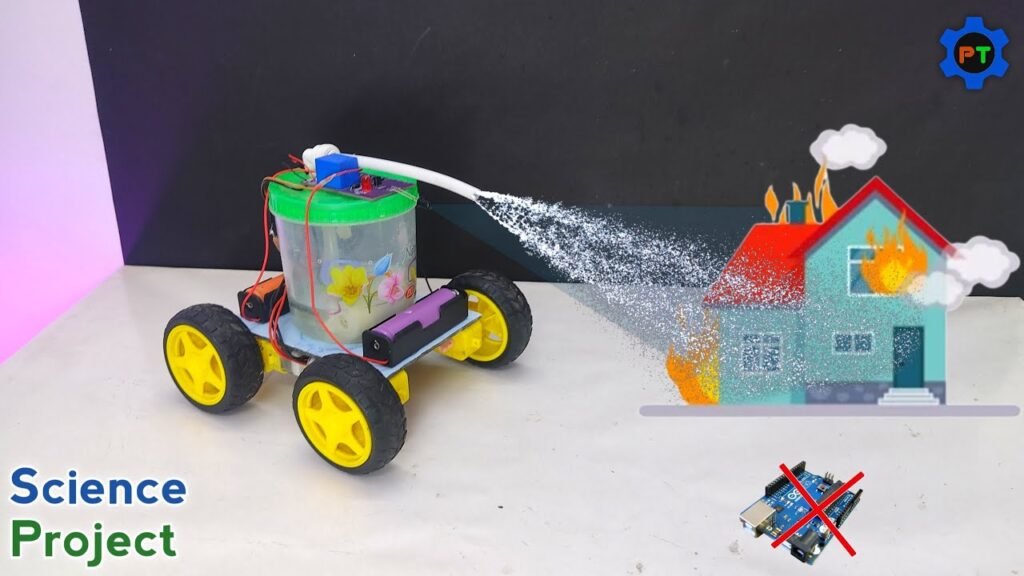
This project demonstrates how to create an automatic fire extinguisher system at home using basic electronic components. It detects fire using an IR receiver (photodiode) and automatically activates a mini water pump to extinguish the flame.
It’s a perfect hands-on science project for students, schools, and DIY electronics learners. This model doesn’t require Arduino, making it one of the simplest fire fighting systems to build.
🧰 Components Required
| Component | Quantity | Buy Link |
|---|---|---|
| Mini Water Pump (with pipe) | 1 | Buy on Amazon |
| IR Receiver (Photodiode) | 1 | Local electronics store |
| BC547 Transistor | 1 | Buy Here |
| 1kΩ Resistor | 1 | Local store |
| 10kΩ Resistor | 1 | Local store |
| LED | 1 | Local store |
| 3.7V Li-ion Battery | 1 | Buy Here |
| Connecting wires + mini breadboard | – | Local or online |
🔌 Circuit Diagram
Basic Flow:
IR sensor → detects fire (infrared heat)
Transistor → amplifies IR signal
Output → activates mini water pump
LED → optional visual alert
🛠️ How It Works
When fire is present, the IR photodiode senses high infrared light.
The signal is sent to a BC547 transistor, acting as a switch.
Once activated, the transistor allows current to flow from the 3.7V battery to the mini water pump.
The pump turns ON and sprays water to extinguish the fire.
An optional LED indicates when the system is active.
🔩 Step-by-Step Instructions
🔹 Step 1: Set Up the IR Sensor
Place the photodiode IR sensor in front of the target detection area.
Connect the IR sensor output to the base of BC547 via a 1kΩ resistor.
🔹 Step 2: Connect the Transistor and Pump
Connect the collector of BC547 to the negative terminal of the mini water pump.
The emitter goes to the negative terminal of the battery.
The positive terminal of the pump connects directly to the battery’s positive side.
🔹 Step 3: Add the LED Indicator (Optional)
Connect an LED parallel to the pump with a 10kΩ resistor to indicate when the system is active.
🔹 Step 4: Power the Circuit
Use a 3.7V Li-ion battery or equivalent DC power source.
Use a switch to control system activation if needed.
🔹 Step 5: Test the System
Light a small flame (like a lighter) in front of the IR sensor.
The pump should activate and spray water automatically.
Move the flame away and the pump stops.
Applications
School science exhibitions
DIY fire safety system demo
Inspire Award project model
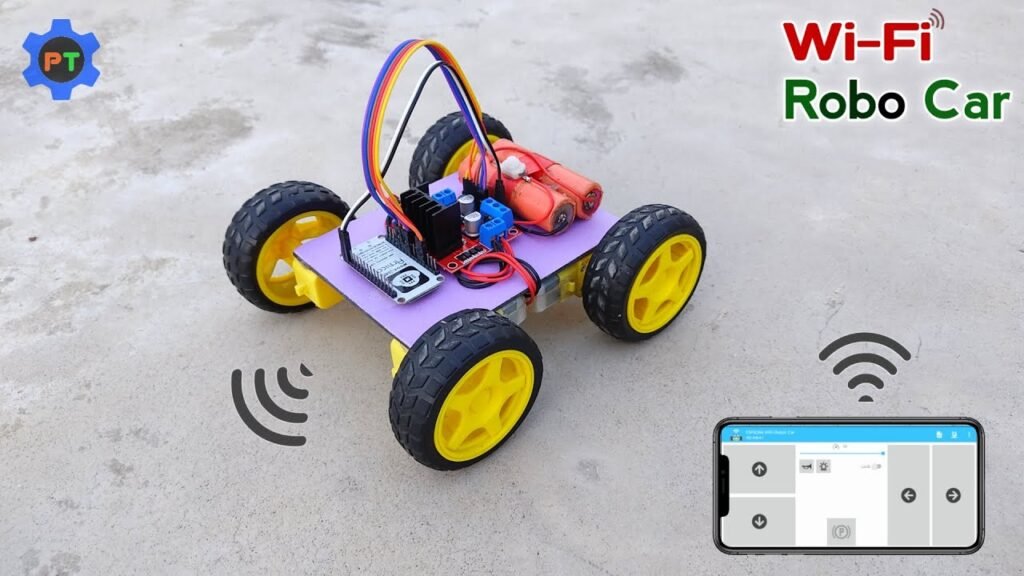
Fire detection system for mini robots
📚 Learning Outcomes
IR-based fire detection principles
Working of BC547 NPN transistor
How mini DC pumps operate
Circuit switching basics
Transistor-as-a-switch application
🔗 Related Projects
🏷️ Tags:
Fire Fighting Project, Automatic Fire Extinguisher, Science Project, IR Sensor Project, BC547 Circuit, School Exhibition, Fire Detector, Mini Water Pump, Electronics DIY, PendTech
✅ Final Thoughts
This automatic fire extinguisher is a practical and smart science model that introduces the basics of fire detection and automated response systems. Using minimal components and no microcontroller, this project can be completed at home in under an hour—perfect for school submissions or personal experiments.