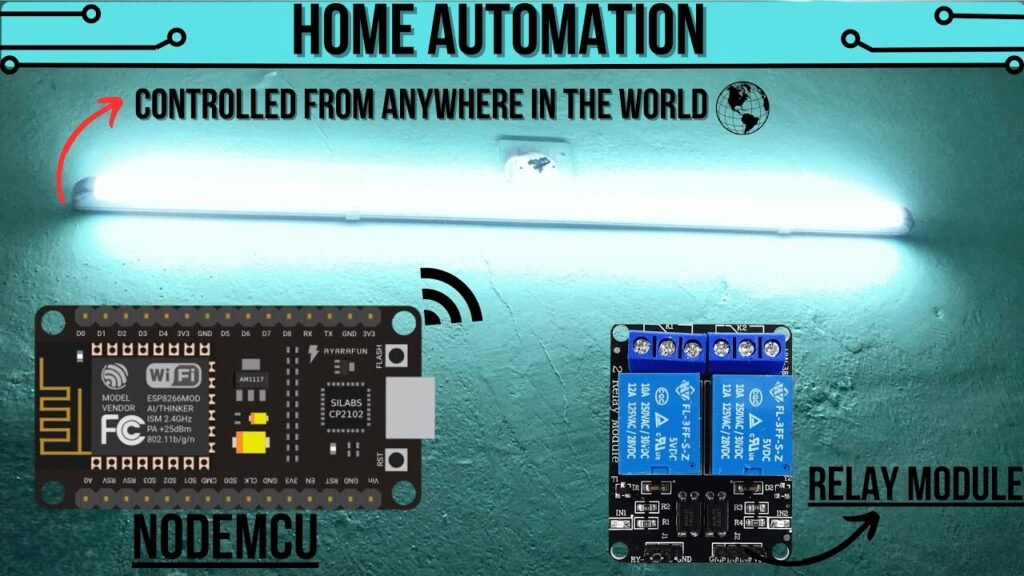
🏠 DIY Home Automation System Using ESP8266 & Relay
Want to control your lights, fans, or appliances from anywhere in the world? With this simple DIY project, you’ll learn how to create your own IoT-based home automation system using the NodeMCU ESP8266 and a relay module. Control real-world devices over Wi-Fi—ideal for smart homes, office automation, and more!
🎯 Project Overview
Objective: Remotely control electrical appliances using Wi-Fi
Skill Level: Beginner–Intermediate
Estimated Time: 1 hour
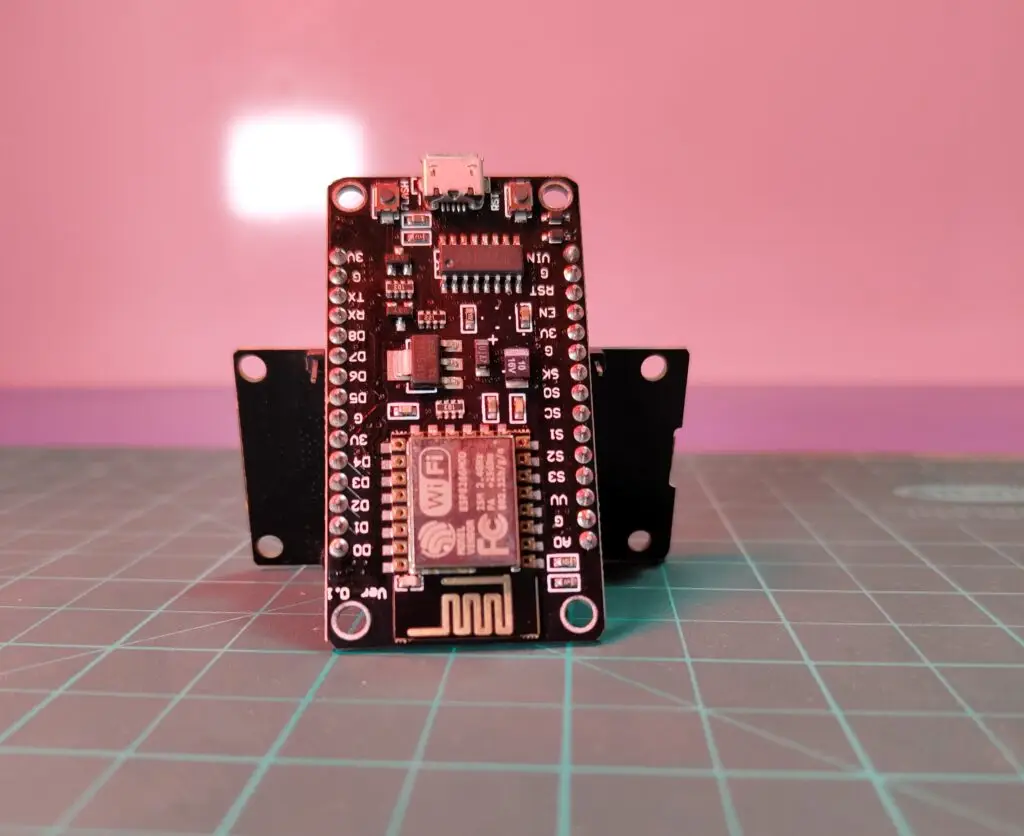
Platform: NodeMCU + Relay Module
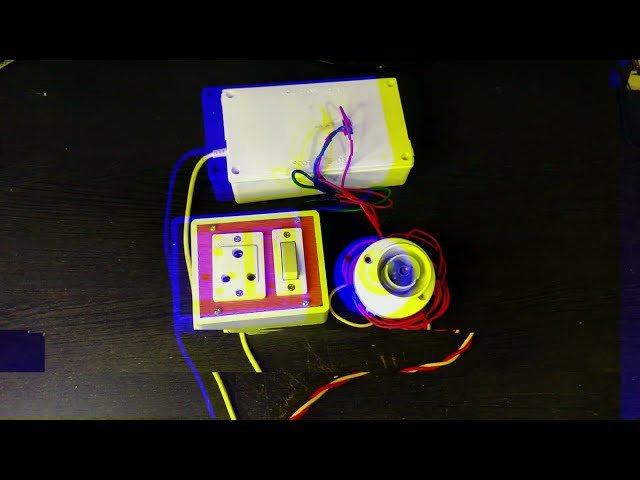
🧰 Components Required
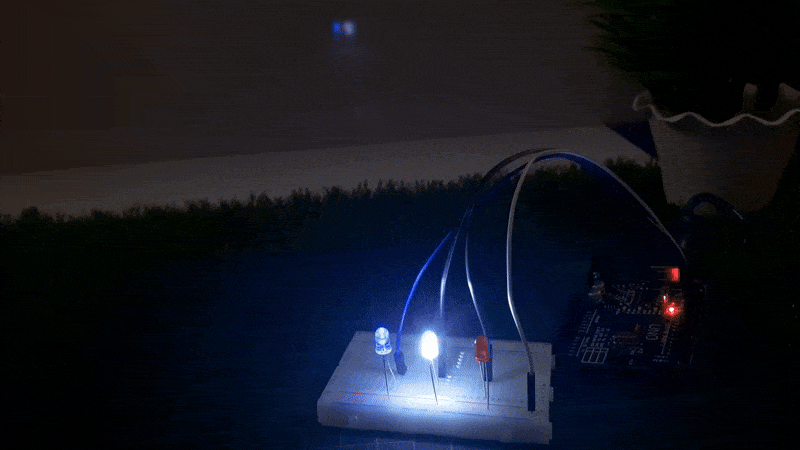
Custom PCB or Breadboard
Jumper Wires
Appliance (LED Bulb, Fan, Switchboard, etc.)
⚠️ Caution: When dealing with AC appliances, ensure all safety precautions are taken. Work under supervision if you’re a beginner.
📥 Download Project Files
💾 Arduino Code -CLICK Download Now Below
🔌 Step 1: Circuit Connections
Relay to NodeMCU:
IN1 (Relay) → D1 (GPIO5)
VCC → 3.3V (NodeMCU)
GND → GND (NodeMCU)
Connect Appliance:
Connect the NO (Normally Open) terminal of the relay to one wire of the appliance.
The COM terminal connects to the live wire from the power source.
Neutral goes directly to the appliance.
💡 Test with an LED bulb before trying high-voltage appliances.
💻 Step 2: Upload the Code
Open Arduino IDE.
Install the ESP8266 board package if not already installed.
Go to Tools > Board > NodeMCU 1.0 (ESP-12E Module).
Copy or open the downloaded code.
Replace Wi-Fi credentials in the code (
SSID&Password).Upload code and open Serial Monitor for feedback.
🌐 Step 3: Control Devices Remotely
After uploading, the ESP8266 connects to your Wi-Fi.
The Serial Monitor will show the IP address assigned to NodeMCU.
Open that IP in your browser to access the control panel.
Click the ON/OFF button to control the relay and the connected device.
🌍 With port forwarding on your router, you can access it from anywhere!
🧠 How It Works
NodeMCU connects to your Wi-Fi.
A simple web server is hosted on the ESP8266.
Toggling buttons on the web page triggers GPIO pins.
The relay receives signals and turns appliances ON/OFF.
✅ Result
Congrats! You’ve built a functional IoT Home Automation System. Expand it to multiple relays, integrate with Alexa/Google Home, or add mobile app support in the future.
🔗 Useful Resources
☕ Support the Creator
Enjoying the content? Support future projects:
👉 Buy Me a Coffee
📱 Stay Connected
Instagram: @scicraft9
YouTube: @scicraft