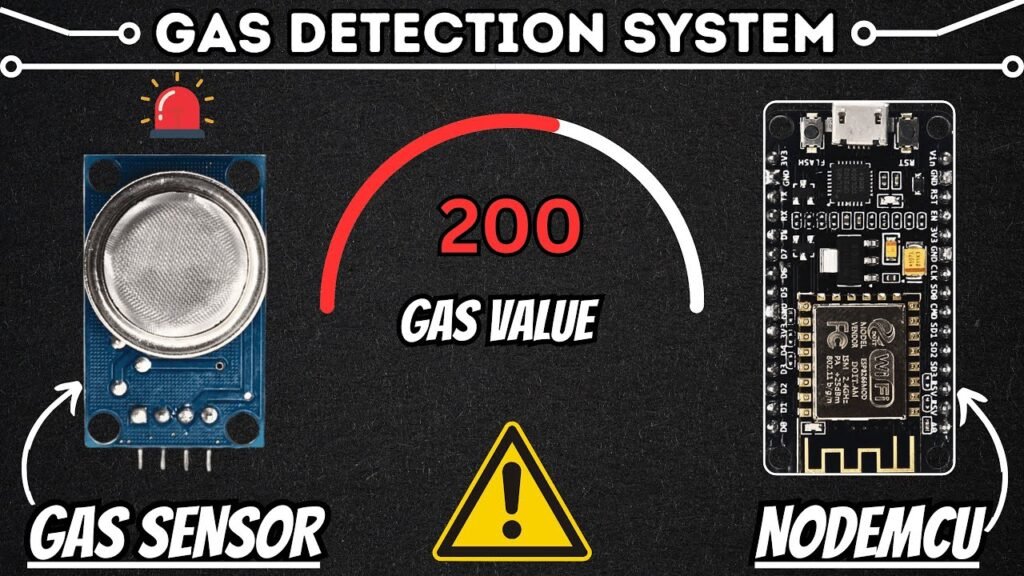
🎯 Project Overview
Objective: Detect gas leaks in real-time and display readings via serial monitor.
Skill Level: Beginner
Estimated Time: 30–45 minutes
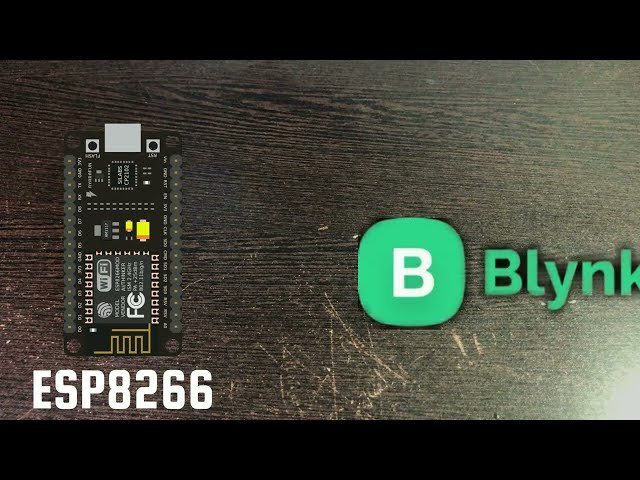
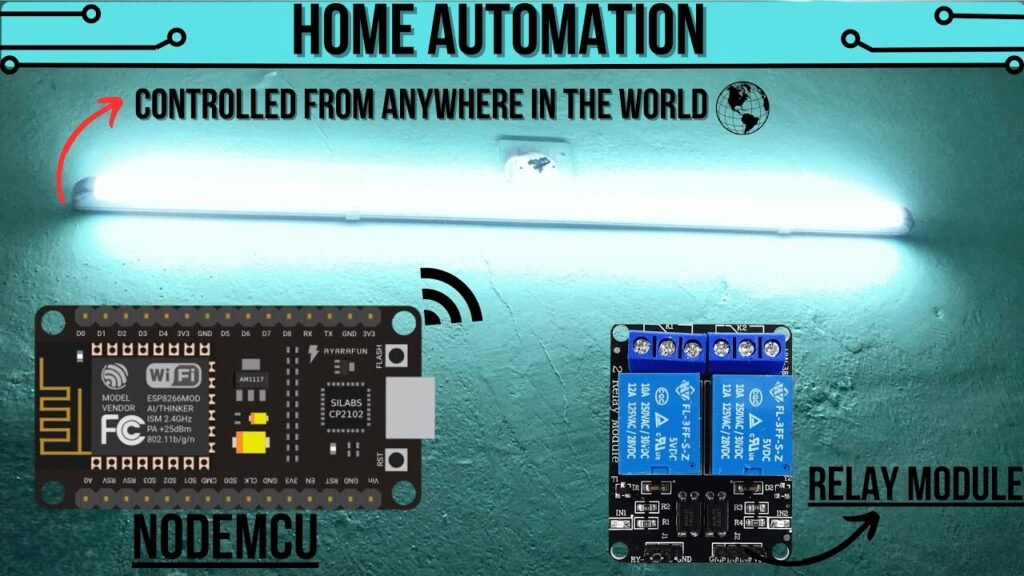
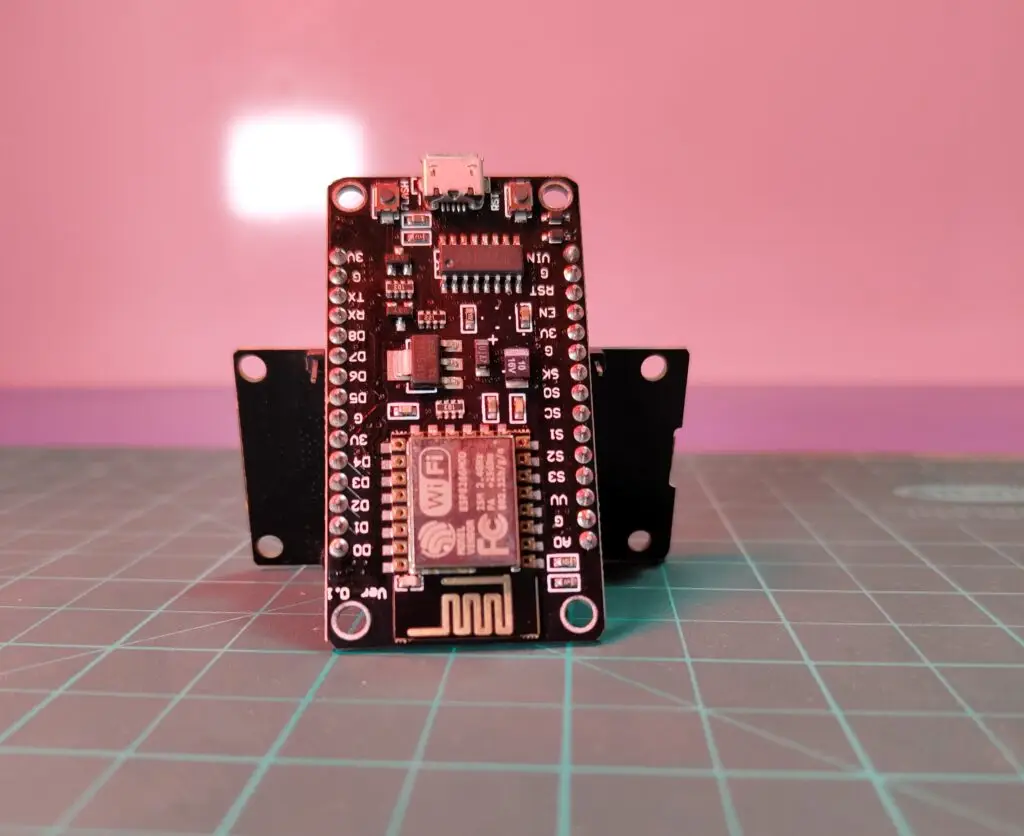
Platform: NodeMCU ESP8266 + MQ135 Sensor
🧰 Components Required
Jumper Wires
Breadboard (Optional)
🛠️ Step 1: Circuit Connections
Connect MQ135 to NodeMCU:
VCC → 3.3V (NodeMCU)
GND → GND
A0 → A0 (NodeMCU analog input)
💡 Note: MQ135 works better after warming up for 1–2 minutes. Give it some time after powering.
💻 Step 2: Upload the Code
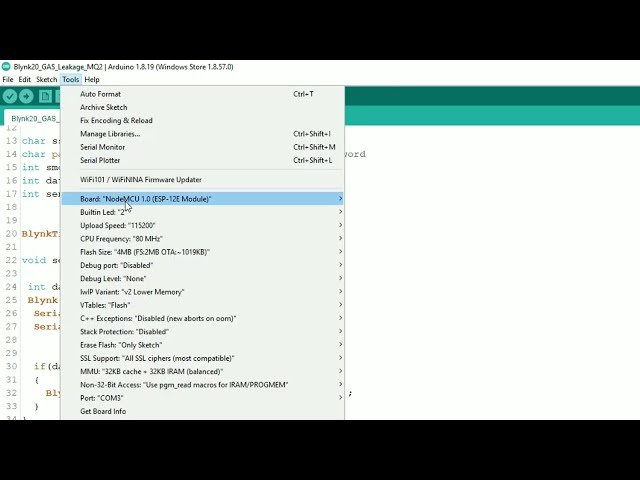
Open Arduino IDE and install the ESP8266 board if not already added.
Select
NodeMCU 1.0 (ESP-12E Module)from Tools → Board.Paste or open the downloaded code.
Connect NodeMCU via USB and upload the sketch.
🧪 Step 3: Test the Gas Detector
Open Serial Monitor (Ctrl+Shift+M).
Set baud rate to 9600.
You will see analog readings from the gas sensor.
Blow a little smoke or expose the sensor to alcohol fumes to test – you’ll see the readings spike.
🧠 How It Works
MQ135 senses gas particles like CO2, ammonia, and smoke.
It outputs an analog signal based on gas concentration.
NodeMCU reads this value and displays it on the Serial Monitor.
Can be extended to trigger alarms, send alerts, or display on a web dashboard (IoT upgrade).
✅ Result
You’ve successfully built a basic gas leak detection system using NodeMCU and MQ135! Upgrade it with Wi-Fi alerts or buzzer alarms to enhance your smart home safety.
🔗 Useful Resources
Code Download Click Download now below
☕ Support the Creator
Like this project? Show your support:
👉 Buy Me a Coffee
📱 Follow Me for More DIY Fun
Instagram: @scicraft9
YouTube: @scicraft