Introduction
Managing water usage in gardening or farming is crucial—both for efficiency and sustainability. In this project, you’ll learn how to build a Smart Soil Irrigation and Management System using an Arduino, a soil moisture sensor, and a water pump. This system automatically waters your plants when the soil is dry and stops once it’s wet, ensuring optimal hydration without waste.
Components Required
Arduino Uno or Nano
Soil Moisture Sensor
Relay Module (5V)
Submersible Water Pump or Motor
Jumper Wires
12V Power Supply (for the pump)
Breadboard
Water Pipe (small for indoor plant setup)
LED (optional for status indicator)
Buzzer (optional for alerts)
Circuit Diagram and Pinout
Arduino Pin Connections:
| Component | Arduino Pin |
|---|---|
| Soil Moisture Sensor | A0 |
| Relay Module (IN) | D7 |
| LED (Optional) | D9 |
| Buzzer (Optional) | D10 |
| VCC | 5V |
| GND | GND |
Pinout Note:
The soil moisture sensor has 3 pins—VCC, GND, and Signal. The relay also requires VCC, GND, and a control pin.
How It Works
The soil moisture sensor reads the water level in the soil.
When the value drops below a set threshold (meaning dry soil), it sends a signal to the Arduino.
The Arduino activates the relay, turning on the pump to water the plant.
Once the soil is moist again, the pump is turned off.
Optional features like LED indicators or buzzers can provide visual/auditory feedback.
Arduino Code
int sensorPin = A0;
int relayPin = 7;
int moistureValue = 0;
int threshold = 400; // Adjust based on testing
void setup() {
pinMode(relayPin, OUTPUT);
Serial.begin(9600);
}
void loop() {
moistureValue = analogRead(sensorPin);
Serial.println(moistureValue);
if(moistureValue < threshold){
digitalWrite(relayPin, HIGH); // Pump ON
} else {
digitalWrite(relayPin, LOW); // Pump OFF
}
delay(1000);
}
Adjust the threshold based on your sensor’s dry/wet readings. Use Serial Monitor to calibrate.
Assembly Instructions
Insert the soil moisture sensor into the soil.
Connect all components according to the circuit diagram.
Upload the Arduino code via USB.
Test the sensor readings in both dry and wet soil conditions.
Power the system using USB or external battery/power supply.
Place the pump’s outlet into the plant pot or soil zone.
Adjust code threshold for perfect moisture sensitivity.
Applications
Home plant watering systems
Greenhouse irrigation automation
Farm-level water management (scale with LoRa/ESP)
Educational IoT projects
Upgrades
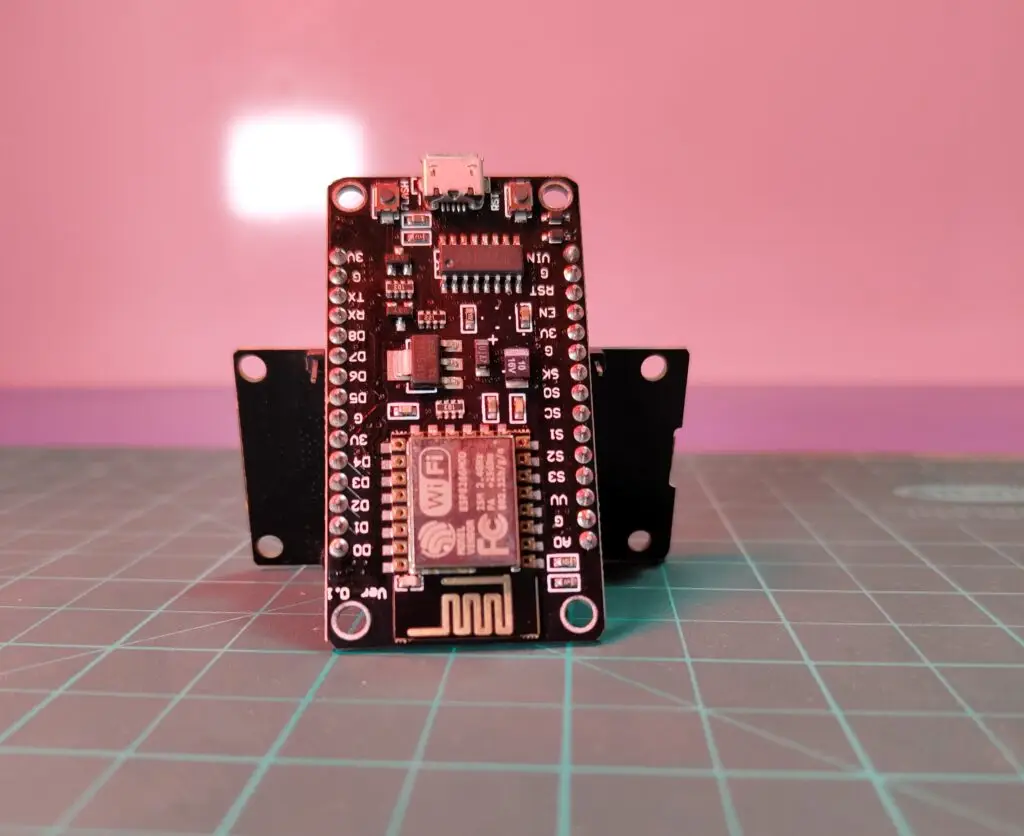
Use ESP8266 or ESP32 to control via Wi-Fi and monitor data on your phone.
Integrate with IoT dashboards like Blynk or Thingspeak.
Add an LCD to display moisture levels.
Solar-powered version for remote farming use.


