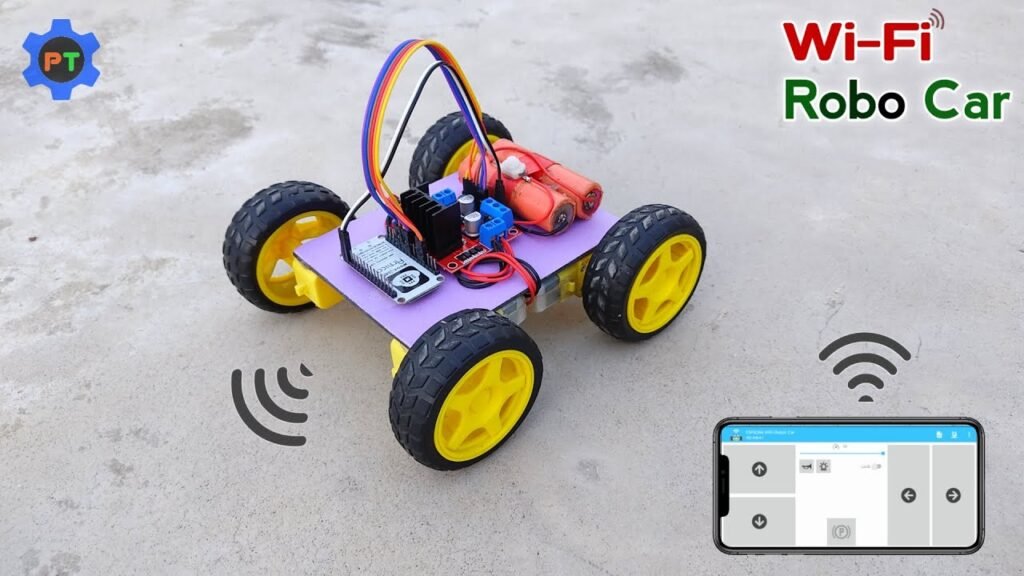
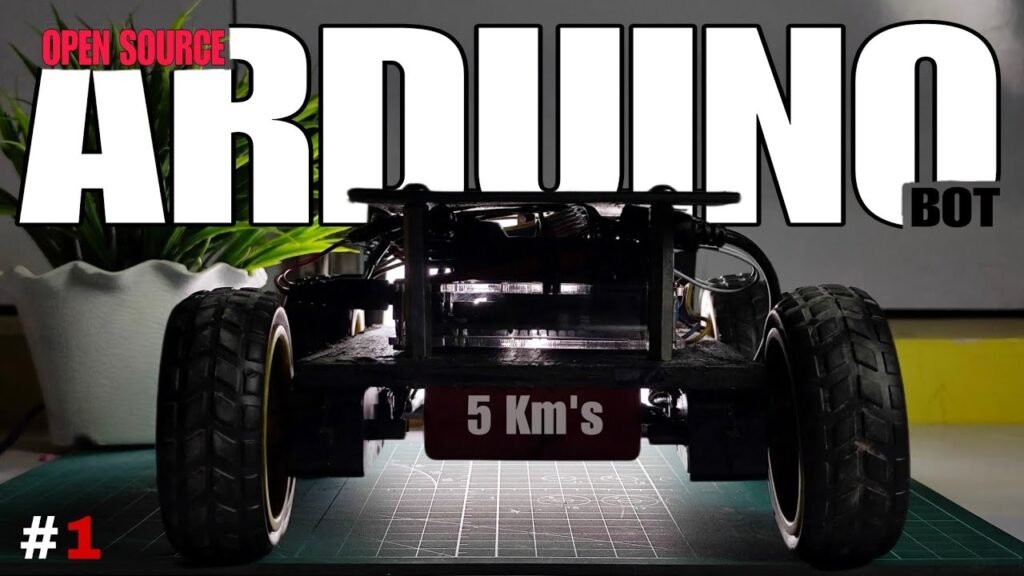
🧠 Project Overview
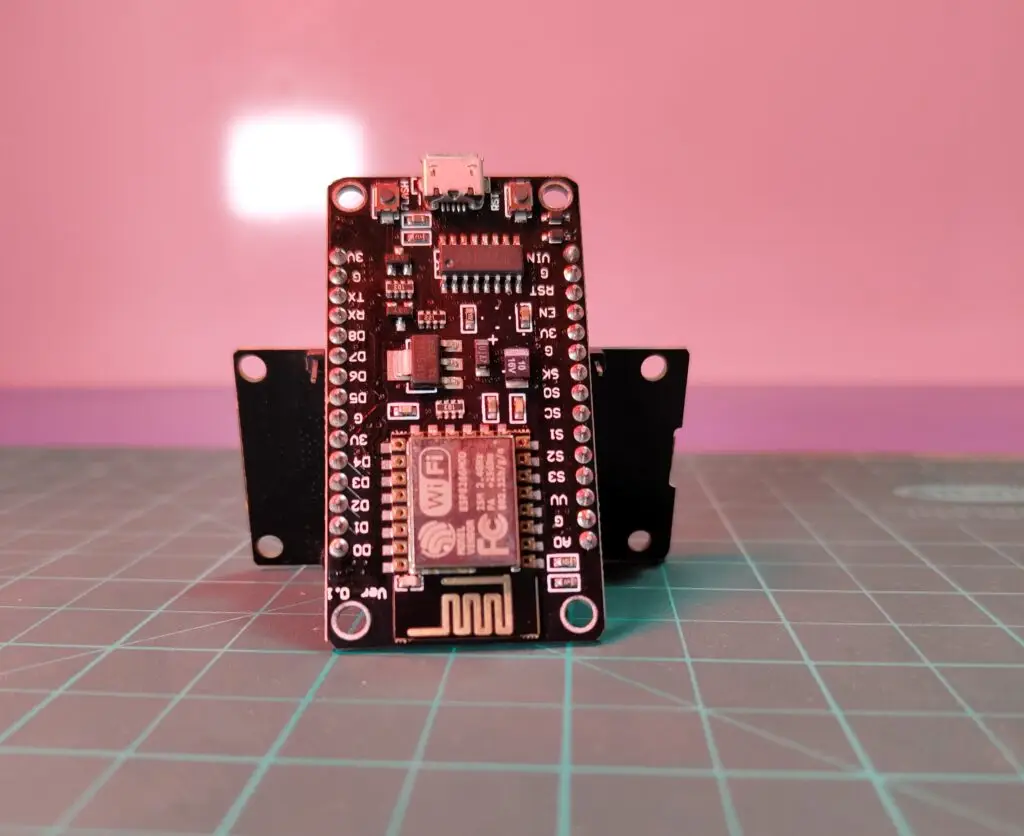
This Wi-Fi Controlled Robot Car project is a smart and fun DIY build that uses a NodeMCU ESP8266 microcontroller to control a car wirelessly using a mobile phone over Wi-Fi. You’ll be able to move your car forward, backward, left, and right using a custom mobile app or browser-based interface.
Perfect for students, hobbyists, or science exhibition entries, this project is fully functional and simple to assemble!
📦 Components Required
| Component | Buy Link |
|---|---|
| NodeMCU ESP8266 | Buy Here |
| L298N Motor Driver | Buy Here |
| Gear Motors & Wheels (x4) | Buy Here |
| Li-ion Batteries (18650 x2) | Buy Here |
| Power Switch | Local electronics store |
| Chassis Board | Optional (or make with cardboard/acrylic) |
| Jumper Wires | Required for all connections |
| Battery Holder (2-cell) | Optional for better wiring |
🛠️ How to Make Wi-Fi Control Robot Car
🔹 Step 1: Mount Motors on Chassis
Fix 4 gear motors to your car chassis.
Attach wheels to each motor shaft.
Secure using glue or screws (as per your material).
🔹 Step 2: Connect Motors to L298N Motor Driver
Connect the left side motors to OUT1 and OUT2 of the motor driver.
Connect the right side motors to OUT3 and OUT4.
Connect 12V and GND pins of L298N to the battery pack.
Connect ENA and ENB to 5V via jumpers (or control them via code for speed control).
🔹 Step 3: Connect NodeMCU to Motor Driver
IN1 → D1 (GPIO5)
IN2 → D2 (GPIO4)
IN3 → D3 (GPIO0)
IN4 → D4 (GPIO2)
GND → Common Ground
5V → Power from motor driver’s onboard regulator
🔹 Step 4: Power Setup
Use two 3.7V 18650 batteries to power the motor driver (around 7.4V).
NodeMCU gets power from the 5V regulator on L298N.
Add a switch between battery and L298N to control power.
💻 Step 5: Upload the Code
🔗 Programming Code – Google Drive Link
Use Arduino IDE or ArduinoDroid App on Android.
Select board: NodeMCU 1.0 (ESP-12E Module)
Upload the code via USB.
The code sets up the NodeMCU as a web server with control buttons.
📱 Step 6: Control via Smartphone
Option 1: Web Browser
Connect your phone to the Wi-Fi hotspot created by NodeMCU.
Open the IP address (e.g., 192.168.4.1).
Use on-screen buttons to move the car.
Option 2: Android App
🔗 Remote Control App – Google Drive
📸 Add Visuals (For Your Blog Upload)
🔹 Featured Image: Smart robot car photo with NodeMCU on top
🔹 Wiring Diagram
🔹 Screenshot of App Interface
🔹 Programming Code UI from Arduino IDE
🔹 Optional: Demo GIF or embedded YouTube video
🧠 How It Works
NodeMCU ESP8266 creates a local Wi-Fi network or connects to your router.
The car is controlled via HTTP commands sent from the mobile browser or app.
The motor driver module interprets those signals to drive motors in desired directions.
🧩 Applications
Wi-Fi-controlled car for fun or surveillance
IoT smart automation models
Robotics for beginners
School or college exhibition project
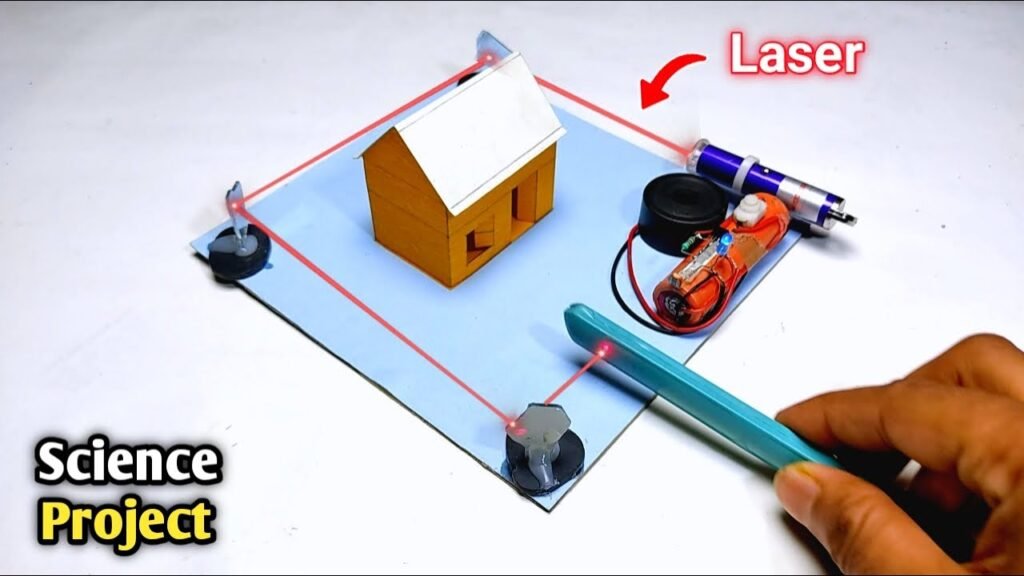
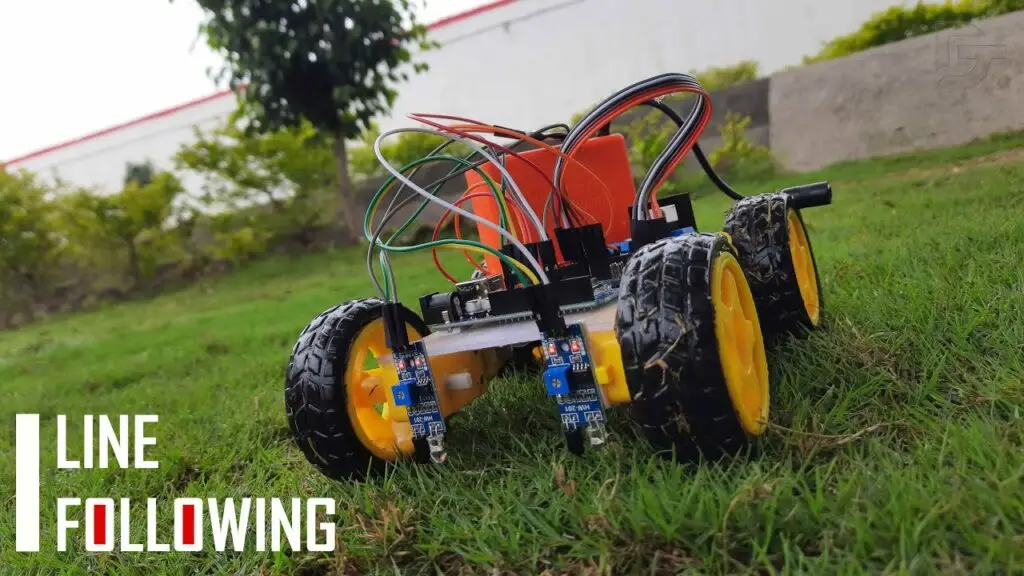
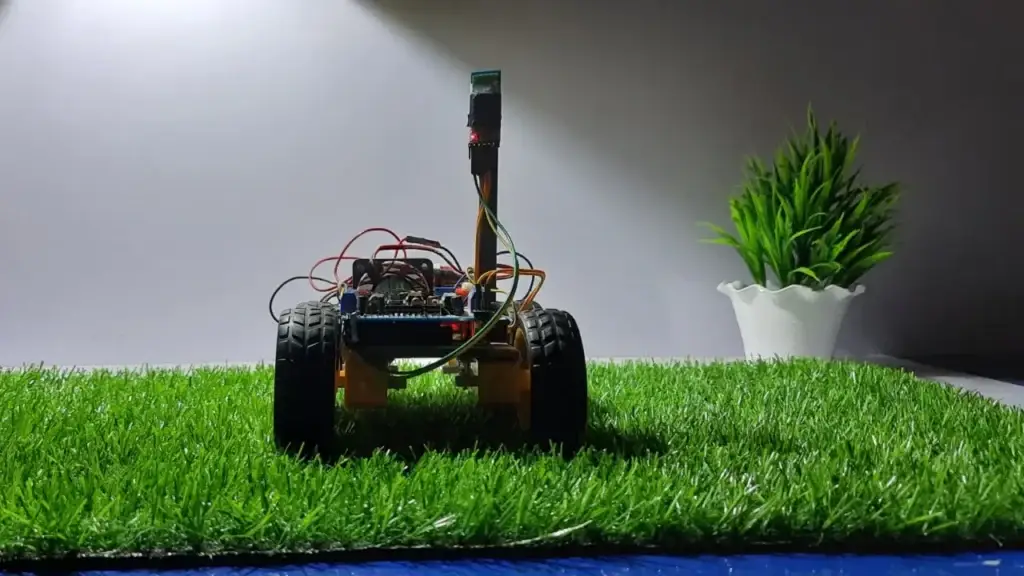
🔗 Related Projects
🏷️ Tags:
Wi-Fi Robot Car, NodeMCU ESP8266, Mobile Controlled Robot, L298N Motor Driver, DIY Robotics, Science Project, PendTech, IoT Car, Remote Control Car
✅ Final Thoughts
This Wi-Fi-Controlled Robot Car using NodeMCU is an impressive combination of IoT and robotics. It’s ideal for tech lovers who want to explore remote control, embedded systems, and real-time connectivity — all without the complexity of Bluetooth pairing!